Saturday, December 19, 2015

Danish Tea Ring - A Family Favorite!

Every Christmas season, my family would bake warm, doughy, gooey, goodness, called a Danish Tea Ring. 

This pastry is easy to make, just a little time consuming. As I have previously mentioned, yeast has never been my friend, so I use a bread machine to make my dough. I use the Basic Sweet Dough recipe from the Cuisinart Recipe book that comes with their bread machine. You can find the recipe on page 63 at this link: Cuisinart Bread Machine Cookbook

If you are one of the humans that yeast favors, you can make a standard sweet bread as the base without a bread machine. 

I use all organic ingredients for a tastier treat.  

I made the giant ring you see in the picture to the left  for my co-workers so I made a 2 lb loaf. It made a huge tea ring that easily fed 25 people. 

When I make it for home, I use a 1 lb loaf. 

If you are using a bread machine, make sure to use the dough setting or you will end up with a nice loaf of sweet bread. Tasty, but not what we are going for. 


While the dough is rising, get a stick of butter and 8 oz of cream cheese out of the refrigerator and let it come to room temperature. 


Filling Ingredients:


  • 1 stick of real butter
  • 1 block or tub of cream cheese (8 oz)
  • 3/4 - 1 cup brown sugar (depending on size of ring you are making)
  • 2-4 Tablespoons cinnamon (depending on size of ring and how much you like)

Optional:


  • Fruits like dried cranberries, blueberries, or raisins
  • Nuts of choice


Making the Ring

Regardless of method you are using (machine or manual) let the dough go through it's first rising and then dump onto the countertop so you can roll it out (I layout 3 sheets of plastic wrap over my countertop to make it easier to clean up). 

Punch down the dough (get all the air out of it) and then let it sit for 10 minutes to rest. 


Roll the dough out until it is about 1/4" thick. 

Spread butter over the entire dough surface, making sure to get all the way to the edges. 

Do the same with the cream cheese, over the entire dough, all the way to the edges. 

Sprinkle with brown sugar or succanut until butter and cream cheese are covered. Then sprinkle the cinnamon. Make sure you put on a good amount of cinnamon or the flavor will be more bland. 

Roll the dough from the long end. Do not roll from the short ends or you will get a thick roll that is too short to turn into a circle. 


Cut off the rough ends so you have a nice smooth end to join.  Press the ends together to join the dough so no filling will leak out when you bake it. Transfer this ring to a baking pan lined with tin foil and sprayed with a no-stick spray. I use "Air Bake" pans to keep the bottoms of my baked goods from browning too much. 


Using a sharp, serrated knife, cut 3/4 of the way through the dough every 1". Cut the whole way around the ring. Be careful not to cut through the tin foil on the pan. 


Twist each cut section clockwise so that you can see the filling inside. It looks best if you pull each piece towards the outside of the ring slightly as you twist. Twist every section in the ring. 


Put the ring into a warm area, free of drafts and let rise until almost doubled in size. 

Bake at 350' for 15-20 minutes, until the ring turns golden brown. 


While the ring is cooling slightly, you can make a glaze or a cream cheese frosting. 

The best cream cheese frosting recipe I have found is from that same Cuisinart Bread Machine Cookbook on page 62. 

If you want to use a simple glaze, mix a cup and a half of powdered sugar, 1/2 teaspoon almond extract, and then add water or milk one tablespoon at a time until its at the desired consistency. Drizzle over the warm Tea Ring. 

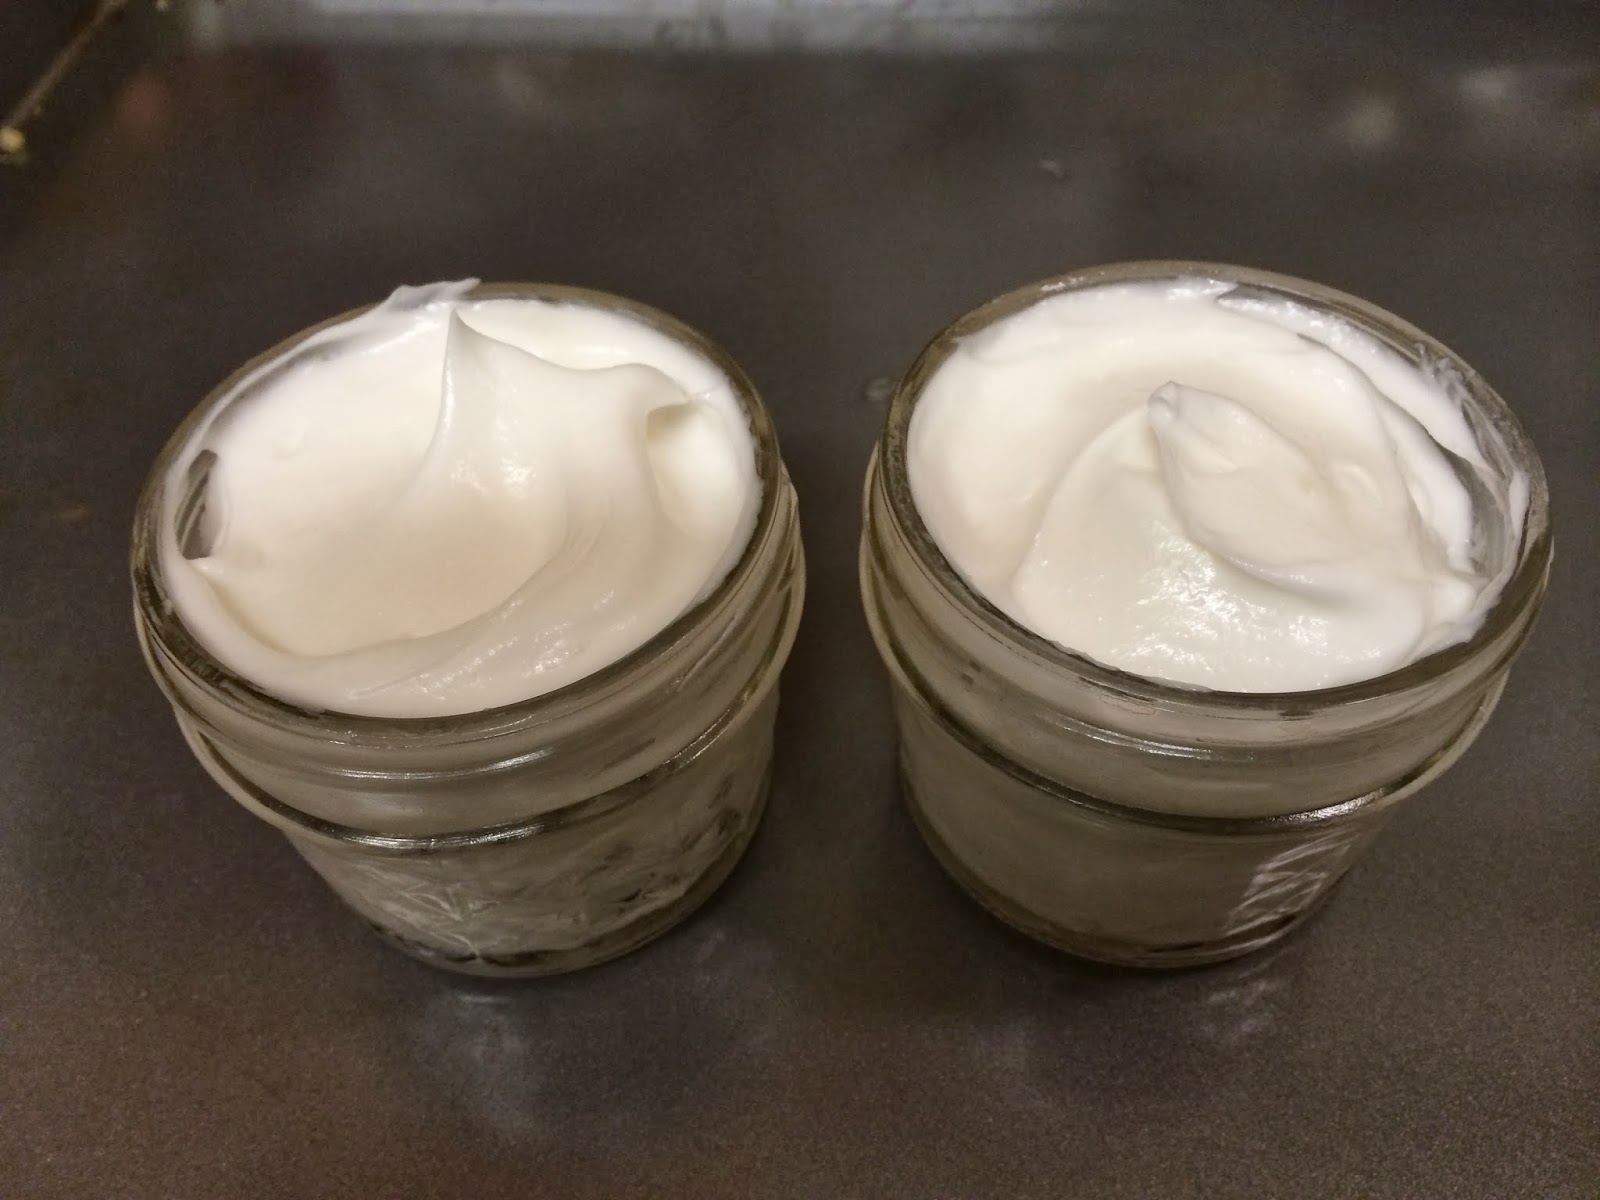
My frosting is slightly beige colored because I used vanilla extract instead of almond. If you want a whiter frosting, be sure to use a clear extract. 

I hope you enjoy this Danish Tea Ring as much as my family does! 

Enjoy! 
Laureen 


Friday, June 6, 2014

Homemade Healthy Toothpaste that works - Whitens too!

I just got back from the dentist and they had to do very little scraping. Yea! The main thing I attributed this change to is the homemade toothpaste I have been using. Yep, homemade, organic, and works! It is even whitening my teeth. 

On top of all that, it is cheap and easy to make! Score! 

I found a recipe on Pinterest that took me to JJ Begonia's site. The toothpaste recipe she had looked good, and I had all the ingredients on hand. 

A little warning before you run off and make this. It does not taste like normal toothpaste. You will be brushing with baking soda, which has a very salty flavor--not something most of us are used to in our toothpaste. However, it also doesn't include any of that junk that the national brands have in them so it is much better for you. 

Here is the recipe for easy reference. I made minor modifications to the original: 

Teeth Whitening Toothpaste

Ingredients (Makes 2 Ounces)

3 Tablespoons organic Baking Soda (find it HERE)
3 Tablespoons organic Coconut Oil--I always use Nutiva (find it HERE)
2 Teaspoons Hydrogen Peroxide (find it HERE
1/4 packet Stevia (find it HERE)
5 or 6 drops Organic Peppermint Oil to taste (find it HERE)

Directions
Mix the baking soda and coconut oil until smooth. Add peroxide and stevia and mix. Put in 5-6 drops of peppermint essential oil and do a final mix. Store in an airtight container. 


I have read where some people caution against using baking soda to brush the teeth every day, saying it will damage the enamel. My dentist didn't state that baking soda would harm my teeth at all. 

I have also seen similar things about hydrogen peroxide. There is so little of it in this mixture, and I use the 3%, so it has been fine for me to use. My teeth are definitely whiter than they have been in a while.

Happy brushing! 
Laureen

Thursday, June 5, 2014

Big Birthday Celebration - Planning the day

My Mother's birthday is coming up. Not just any birthday, a really really big birthday. My Mom will be 90. Ninety! 

We all have talents in our family and one of mine is organization and party planning. It's fun for me and I really enjoy it. So I have been the main planner for my Mom's big party. 

This thing has turned into the size of a wedding reception. We will have close to 100 guests, catering, music and dancing. 

I went through the instructions from my previous post on Party and Event Planning - Laying the Foundation and came up with the following list: 

  • What is the purpose of the event? The purpose of the event is to celebrate my Mom and to make sure she knows she is loved and appreciated. 
  • What do I want the tone or mood of the event to be? Relaxed and fun, but beautiful at the same time. Party casual dress, safe environment for all my Mom's friends, and a great party atmosphere.
  • What is important to me? That my Mom has the best time of her life. That she is celebrated and knows how much we all love her.
  • What do I want for my guests? I want them to be well taken care of. I want them to have a good time. I want to have some surprises, and to provide a beautiful and fun environment.
  • How do I want to participate in the event? I want to eat and be able to participate fully in this event. I tend to take on too much leading up to events so I am exhausted at the party. I want to relax and have fun at this one.  

Starting the Planning

Now that I have a foundation for the event I can start planning. The first thing I like to do for a party is put together the guest list. This helps me understand the approximate number of people, which leads me to how much space, food, and drinks I will need.

We have a huge family. Our baseline of guests is 32 right now, and that is just my siblings and their families. My Mom came up with a guest list of 60 something people, so we are up near 100.

I don't hold surprise parties for 90 year olds, so having my Mom included in the initial planning helped to move things along. It also makes it easier to come up with the right guest list, theme, and color scheme. We have booked a hall to hold the event, and my Mom has a caterer she likes. We have chosen a tentative date of June 21.

Guest list:  Approximately 100 people
Theme: I struggled with this one. Was going to do Old Hollywood since my Mom grew up in Hollywood but, I have settled on no theme. I will write about this in  a future post.
Colors: Bright teals, corals, and pinks


Filling in the details

I like to create nice invitations. The invitation sets the tone for the party and lets your guests know what to expect. My niece created a gorgeous invitation which sets the tone perfectly for this party. I hand address the invitations per old Emily Post rules. There is something about receiving a more formal invitation that is properly addressed that creates anticipation. I love hearing the guests excitement when they RSVP. It keeps me motivated.

We have rented a hall, and it is huge. I think we could easily seat a few hundred people there. We will need to make the space more intimate. 

The Perfect Palette, as found on Pinterest 
I love teals, corals, and pinks and hadn't used these colors for a party before. I found a great palette at The Perfect Palette (I found it on Pinterest and followed the links).

We will also add in a touch of black and gold to make the party shine and make the colors pop. 

So far we are having white tablecloths, teal blue table runners, gold centerpiece vases, black accent vases, and pink and coral flowers on the tables.


I have found a lot of items on eBay and others at floral supply stores. I will post pictures and where to buy in a future post. 

 
The party design is coming along. My biggest concern at this point is whether I should have put in an order for the flowers. I need to plan out what I need for a party of this size. I usually just go to the flower supply and pick out what works with my color theme, but I need a lot of flowers this time. 

Time will tell if I made the right decisions. More in a coming post! 

So how are you celebrating life? Leave me a comment below.
Laureen

Sunday, June 1, 2014

MMMMmmmm Muffins

Have I mentioned I like baked goods? MMMmmmmm Hot from the oven, yummy, fluffy, baked goods. With my eating plan cutting out all wheat and sugar, it has put a big dent in my enjoyment of baked goods. This isn't just a gluten free thing, it's a no wheat thing so gluten free flours are out. 

I have found a way to make cookies, both baked and no-bake but I wanted more. This morning I jumped into muffin making with both feet, and by am I glad I did! YUM!

These muffins use buckwheat flour, which is not a wheat, surprisingly. Buckwheat is made from the seeds of a fruit which are in the same family as rhubarb. See this wikipedia link for more info: Buckwheat. Since it isn't a wheat there is no gluten in it naturally. I am eating for heath these days and buckwheat seems much healthier to me than overly processed wheat. 

I also used almond meal or flour and some gluten free oats. These 2 ingredients made the muffins more dense and hearty than what we made in my Rum Cake Donut Muffin recipe.

To replace the sugar, I used Xylitol and Stevia. Both of these sweeteners are natural and do not include chemicals. Stevia is an herb and Xylitol is made from birch. Neither of these sweeteners raise blood sugar nor impact the pancreas. 

Taking all of that in mind, here is the recipe.  

Note that the buckwheat will make them dark. The batter will be dark and the muffin will be dark. But the flavor is great. Give them a try!  


Healthy Muffins (makes 32 mini muffins)

1/2 cup organic buckwheat flour
1/2 cup almond meal or flour
¾ cup gluten-free oats 
1-½ teaspoon baking powder
½ teaspoon salt
¾ teaspoon nutmeg
¾ teaspoon cinnamon


⅓ cup coconut oil
½ cup organic birch Xylitol
1 packet Stevia
1 egg (for vegan, substitute a flax egg)
¾ cup almond milk (or coconut or hemp)

Preheat the oven to 350º. Whisk together the flours, oats, baking powder, salt, nutmeg, and cinnamon.

In a separate bowl, add coconut oil, sugar, egg, and milk. Mix to combine until thoroughly blended.

Add dry ingredients to wet ingredients and stir only to combine.

Coat your muffin pan with a little coconut oil cooking spray and scoop the batter evenly among the cups. I filled a 24 mini-muffin tin and had enough for another 8.

Bake at 350 degrees for 8-12 minutes. The muffin should spring back when you lightly touch the top.

Let the muffins cool for about 10 minutes in the pan. Remove from pan and allow them to cool another half hour or so. 


Topping

Ingredients: 
3 Tablespoons Earth Balance "butter"

3 Tablespoons Xylitol or 1 teaspoon Stevia
2 teaspoons cinnamon

Melt the butter in a microwave safe bowl or on the stove. Mix the sweetener and cinnamon in a second bowl. Quickly dip the muffins in the butter and then roll them in the sweetened cinnamon. I just did the tops but you can do the whole muffin if you want--you just may need to double your topping recipe to cover all the muffins.

Tap off any excess cinnamon and they are ready to eat. 


I am loving the fact that I don't need flour or sugar to make a yummy treat. Hope you enjoy them too! 

Laureen

Wednesday, May 21, 2014

Claims in Beauty Product--Don't pay extra for buzz words!

I went to a large beauty store the other day. You know the kind, the ones with all sorts of brands of products in one place.

I was surprised and amazed to see claims like "gluten-free" and really
high-priced products that include plant stem cells. 


Gluten? 


Well, I don't know about you, but I don't expect flour to be in my beauty products. Unless you are buying an oatmeal mask, "gluten-free" labeling has no place in beauty products. 

Gluten is a protein that makes dough elastic. I never expect that any lotion I purchase would include in it's ingredients wheat flour, rye flour, or anything else that naturally has gluten in it. Would you? 
 
Gluten is only bad for your gut, and only in certain people. Since you aren't eating your beauty products, don't worry about gluten in them! 

I suppose these same products could be labelled sugar free and dairy free too, right? I doubt there are a lot of beauty products, other than sugar scrubs, that have added sugar. I also doubt they put a lot of dairy products in there that will expire. 

So please don't pay more for a product just because it has a fad label. Save your money for things that really work.


Plant Stem Cells? 


My second shock came when I saw really high priced products that included plant stem cells. For a stem cell to work, it has to match other cells. And no matter how hard you try, a vegetable or fruit stem cell will never match a human cell. I found additional information here, Lifeline. The most important part of the article states: 

"Apple stem cells clearly work for apples. Watermelon stem cells are perfect for watermelons. But they don’t have any benefits to humans unless, as InStyle wrote, “you want to look like a tree”.  One plant stem cell skincare brand claims to produce more collagen and elastin. There’s no scientific evidence of that, and  their ability to proliferate skin cells, repair wounds or stimulate collagen and elastin in people is limited, at best."

Products with stem cells included are expen$ive!! Don't pay for something that will never work and provide no benefit to you. 

Save your money and use clean, non-toxic products. Look at the labels and find the ones where you can read most of the ingredients. 

I hope I saved you some hard-earned money today. Feel free to comment and ask questions. 

Laureen


Tuesday, May 20, 2014

Chocolate Oatmeal No-Bake Cookies

When I was young we used to make a chocolate oatmeal peanut butter no-bake cookies. I loved them. Sometimes we were lucky if they made it onto the wax paper. We would all grab spoons and dig in.

But since February, I have removed all sugar, dairy, and wheat from my life, not to mention peanuts. This makes it hard to make a good cookie. 

Last night I was craving chocolatey goodness so I decided to remake the standard recipe to align with my current eating plan. Here is a link to the original recipe: Chocolate Peanut-Butter No Bake Cookies


The original recipe calls for 2 cups of sugar, cocoa powder, a stick of butter, and a cup of peanut butter. All no-nos for me at the moment. 
While mine didn't turn out as gooey as the originals, they are pretty darn tasty and satisfied my cravings. The cookies from the recipe below are for those of us that love dark, bitter chocolate. If you prefer a sweeter cookie you can add more Stevia, or if you are ingesting sugar, you can add honey, maple syrup, etc. 

Chocolate Oatmeal Almond Butter No Bake Cookies


5 Tablespoons block cacao (unsweetened)
1/3 cup coconut oil
2 Tablespoons Earth Balance "butter"
1 Tablespoon Stevia (more if you want a sweeter cookie)
1 cup almond butter
1 cup almond milk
2 teaspoons vanilla
2 1/2 cups oatmeal

Melt the cacao, coconut oil, butter, milk, and Stevia in a pan on the stove. Don't boil. Just melt everything well. 

 
Remove from heat and add almond butter. Mix well. If it isn't melting into the chocolate mixture, put it back on the heat for a minute. 


Add the vanilla and oatmeal and mix well. If the mixture is too dry add more almond milk a Tablespoon at a time until mixture is a thick dough consistency. Taste the cookies, adjust sweetness levels. 

 
Roll into balls and put on wax paper to cool.
Enjoy! 


Nom, nom!
Laureen


Tuesday, May 13, 2014

My Story and my Path

I appreciate you all following me and reading my blog. I started it because I wanted to help people who were searching for a healthier balanced life including food, beauty products, work-life balance, and fun. I love creating party designs and have quite a few posts about how to DIY your own party. 

I also have a lot of health posts, including healthy recipes. The healthy posts are due to my need to keep myself alive. 

Yep. As hard as it is to admit, daily I work to sustain my health so I won't sneak into the cancer range. 

Eight years ago, I went to my doctor for my annual exam. I have thyroid and blood pressure issues (that is for another post) and I needed to have my blood drawn to make sure my medication levels were good. I mentioned I was tired so my doctor also ran my Sedimentation (Sed) rate. The Sed rate is an indicator of inflammation in the body. Usually your Sed rate is under 20. A reading of 100 is a sign of serious illness. Mine came back at 92. 

92

I was shocked and scared. What was going wrong in my body? 

The doctor sent me to a cardiologist and after weeks of heart monitoring and other tests we determined my heart was good. So I was sent to a Rheumatologist. Maybe it was arthritis or a joint issue. I could deal with that. Weeks of tests again showed nothing. But the Rheumatologist had one more test for me, which was a blood test. 

I don't think I will ever forget the day of my appointment with him for the results. This was an in-person kind of result, not a phone call. He told me I might have a blood/bone marrow cancer so he was sending me to a Hematology Oncologist. I think my world stood still. Blood cancer? Bone marrow cancer? If I was going to get cancer why couldn't it be something that they could remove?

I was 42 years old. I was in the prime of my life. I was just a little tired. Isn't everyone a little tired?

The Hematology Oncologist did all sorts of test. He redid the blood tests, took x-rays of every bone in my body, tested my kidneys, and sent me for a bone marrow biopsy. 

I was just under the cancer levels for multiple myeloma and was pretty much told that the disease would progress until I had cancer and then I could discuss treatments. I was sent to places that specialize in treating severe cancers and who are supposed to provide hope. I received no hope. 

Don't get me wrong, my Hematology Oncologist is wonderful but they are taught that there are no cures for certain things. 

Something about this diagnoses made me curious. Our bodies want to work correctly, and mine was not. If I gave it the right stuff, whatever that may be, why couldn't my body fix itself? 

Doctors had no cure, so what did I have to lose? At the time, I read that MM is caused by either exposure to chemicals or a virus. I couldn't do much if a virus caused this, but I could control my chemical exposure. So began our purging of our cleaning products and our food. My husband started cooking and would cook only organic food. We researched and cleared out all toxic chemical from our cleaning products (vinegar is wonderful).

I added only clean things into my body while doing all sorts of cleanses to get the toxins out (contact me if you want the details, I am happy to share).  And guess what? It worked! My numbers stabilized. I went from having blood tests every 3 weeks to now, once a year. My numbers still go up and down (up is bad) but I have remained stable. YEA ME! 
Me! 


The path to this point is fraught with twists and turns, however. I had a bout with depression, weight gain, and slip ups. I will post more about these as time goes on. 


So please enjoy my blog, my recipes, DIY pieces, and my party designs. I will continue to give information on how I am bringing by body back to health. And finding my new normal, which continues to change. 


Yours in Life, 
Laureen