Showing posts with label DIY. Show all posts

Friday, June 6, 2014

Homemade Healthy Toothpaste that works - Whitens too!

I just got back from the dentist and they had to do very little scraping. Yea! The main thing I attributed this change to is the homemade toothpaste I have been using. Yep, homemade, organic, and works! It is even whitening my teeth. 

On top of all that, it is cheap and easy to make! Score! 

I found a recipe on Pinterest that took me to JJ Begonia's site. The toothpaste recipe she had looked good, and I had all the ingredients on hand. 

A little warning before you run off and make this. It does not taste like normal toothpaste. You will be brushing with baking soda, which has a very salty flavor--not something most of us are used to in our toothpaste. However, it also doesn't include any of that junk that the national brands have in them so it is much better for you. 

Here is the recipe for easy reference. I made minor modifications to the original: 

Teeth Whitening Toothpaste

Ingredients (Makes 2 Ounces)

3 Tablespoons organic Baking Soda (find it HERE)
3 Tablespoons organic Coconut Oil--I always use Nutiva (find it HERE)
2 Teaspoons Hydrogen Peroxide (find it HERE
1/4 packet Stevia (find it HERE)
5 or 6 drops Organic Peppermint Oil to taste (find it HERE)

Directions
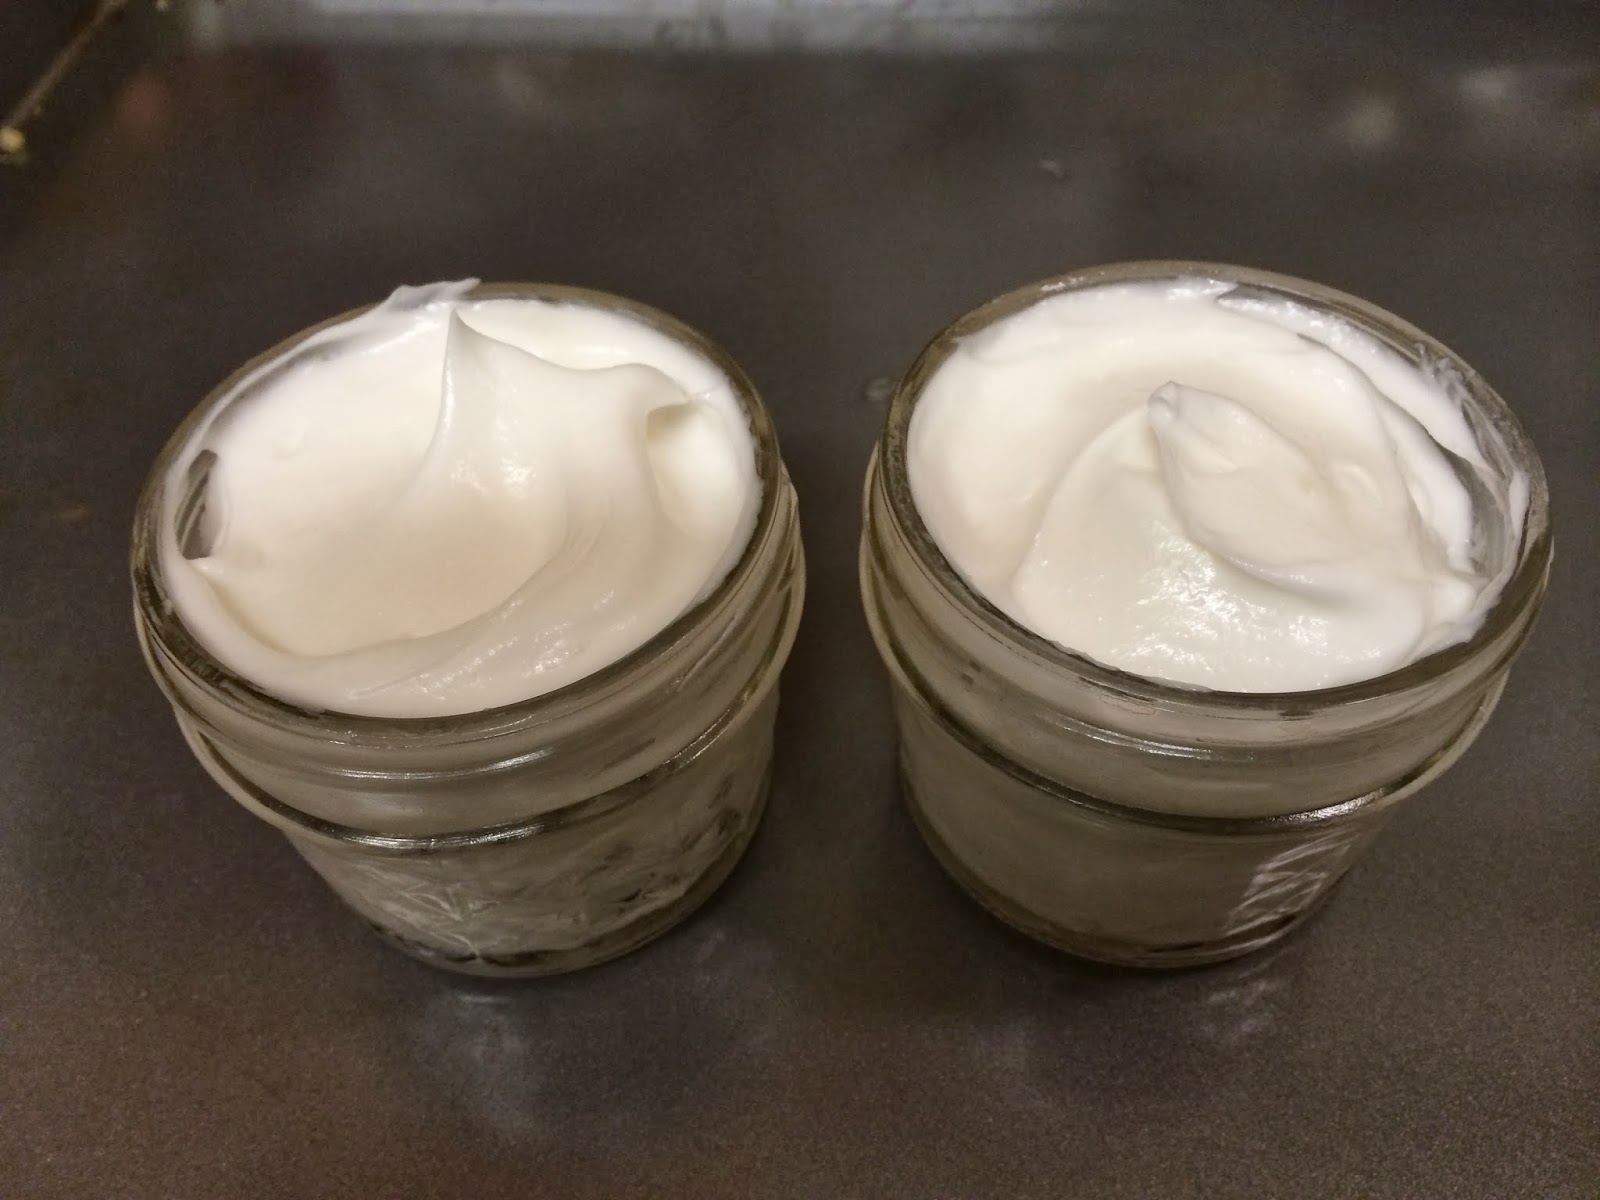
Mix the baking soda and coconut oil until smooth. Add peroxide and stevia and mix. Put in 5-6 drops of peppermint essential oil and do a final mix. Store in an airtight container. 


I have read where some people caution against using baking soda to brush the teeth every day, saying it will damage the enamel. My dentist didn't state that baking soda would harm my teeth at all. 

I have also seen similar things about hydrogen peroxide. There is so little of it in this mixture, and I use the 3%, so it has been fine for me to use. My teeth are definitely whiter than they have been in a while.

Happy brushing! 
Laureen

Thursday, June 5, 2014

Big Birthday Celebration - Planning the day

My Mother's birthday is coming up. Not just any birthday, a really really big birthday. My Mom will be 90. Ninety! 

We all have talents in our family and one of mine is organization and party planning. It's fun for me and I really enjoy it. So I have been the main planner for my Mom's big party. 

This thing has turned into the size of a wedding reception. We will have close to 100 guests, catering, music and dancing. 

I went through the instructions from my previous post on Party and Event Planning - Laying the Foundation and came up with the following list: 

  • What is the purpose of the event? The purpose of the event is to celebrate my Mom and to make sure she knows she is loved and appreciated. 
  • What do I want the tone or mood of the event to be? Relaxed and fun, but beautiful at the same time. Party casual dress, safe environment for all my Mom's friends, and a great party atmosphere.
  • What is important to me? That my Mom has the best time of her life. That she is celebrated and knows how much we all love her.
  • What do I want for my guests? I want them to be well taken care of. I want them to have a good time. I want to have some surprises, and to provide a beautiful and fun environment.
  • How do I want to participate in the event? I want to eat and be able to participate fully in this event. I tend to take on too much leading up to events so I am exhausted at the party. I want to relax and have fun at this one.  

Starting the Planning

Now that I have a foundation for the event I can start planning. The first thing I like to do for a party is put together the guest list. This helps me understand the approximate number of people, which leads me to how much space, food, and drinks I will need.

We have a huge family. Our baseline of guests is 32 right now, and that is just my siblings and their families. My Mom came up with a guest list of 60 something people, so we are up near 100.

I don't hold surprise parties for 90 year olds, so having my Mom included in the initial planning helped to move things along. It also makes it easier to come up with the right guest list, theme, and color scheme. We have booked a hall to hold the event, and my Mom has a caterer she likes. We have chosen a tentative date of June 21.

Guest list:  Approximately 100 people
Theme: I struggled with this one. Was going to do Old Hollywood since my Mom grew up in Hollywood but, I have settled on no theme. I will write about this in  a future post.
Colors: Bright teals, corals, and pinks


Filling in the details

I like to create nice invitations. The invitation sets the tone for the party and lets your guests know what to expect. My niece created a gorgeous invitation which sets the tone perfectly for this party. I hand address the invitations per old Emily Post rules. There is something about receiving a more formal invitation that is properly addressed that creates anticipation. I love hearing the guests excitement when they RSVP. It keeps me motivated.

We have rented a hall, and it is huge. I think we could easily seat a few hundred people there. We will need to make the space more intimate. 

The Perfect Palette, as found on Pinterest 
I love teals, corals, and pinks and hadn't used these colors for a party before. I found a great palette at The Perfect Palette (I found it on Pinterest and followed the links).

We will also add in a touch of black and gold to make the party shine and make the colors pop. 

So far we are having white tablecloths, teal blue table runners, gold centerpiece vases, black accent vases, and pink and coral flowers on the tables.


I have found a lot of items on eBay and others at floral supply stores. I will post pictures and where to buy in a future post. 

 
The party design is coming along. My biggest concern at this point is whether I should have put in an order for the flowers. I need to plan out what I need for a party of this size. I usually just go to the flower supply and pick out what works with my color theme, but I need a lot of flowers this time. 

Time will tell if I made the right decisions. More in a coming post! 

So how are you celebrating life? Leave me a comment below.
Laureen

Wednesday, May 21, 2014

Claims in Beauty Product--Don't pay extra for buzz words!

I went to a large beauty store the other day. You know the kind, the ones with all sorts of brands of products in one place.

I was surprised and amazed to see claims like "gluten-free" and really
high-priced products that include plant stem cells. 


Gluten? 


Well, I don't know about you, but I don't expect flour to be in my beauty products. Unless you are buying an oatmeal mask, "gluten-free" labeling has no place in beauty products. 

Gluten is a protein that makes dough elastic. I never expect that any lotion I purchase would include in it's ingredients wheat flour, rye flour, or anything else that naturally has gluten in it. Would you? 
 
Gluten is only bad for your gut, and only in certain people. Since you aren't eating your beauty products, don't worry about gluten in them! 

I suppose these same products could be labelled sugar free and dairy free too, right? I doubt there are a lot of beauty products, other than sugar scrubs, that have added sugar. I also doubt they put a lot of dairy products in there that will expire. 

So please don't pay more for a product just because it has a fad label. Save your money for things that really work.


Plant Stem Cells? 


My second shock came when I saw really high priced products that included plant stem cells. For a stem cell to work, it has to match other cells. And no matter how hard you try, a vegetable or fruit stem cell will never match a human cell. I found additional information here, Lifeline. The most important part of the article states: 

"Apple stem cells clearly work for apples. Watermelon stem cells are perfect for watermelons. But they don’t have any benefits to humans unless, as InStyle wrote, “you want to look like a tree”.  One plant stem cell skincare brand claims to produce more collagen and elastin. There’s no scientific evidence of that, and  their ability to proliferate skin cells, repair wounds or stimulate collagen and elastin in people is limited, at best."

Products with stem cells included are expen$ive!! Don't pay for something that will never work and provide no benefit to you. 

Save your money and use clean, non-toxic products. Look at the labels and find the ones where you can read most of the ingredients. 

I hope I saved you some hard-earned money today. Feel free to comment and ask questions. 

Laureen


Saturday, January 18, 2014

5 Secrets of Wedding Planning

Yea! You're Engaged! This should be such a fun and happy time! But I keep reading articles that tell you to not run out and buy your dress, to spend no more than 20% on this or that, blah blah blah. Hey, it's your wedding, do what you want!--within reason. 

I wrote a post about a year ago about laying the foundation for any event, and it holds true especially for something big like a wedding. Having this information will help keep you sane when all your vendors, friends, and family give you well-meaning advice and confuse the heck out of you. 

Now it's time I let you in on a few secrets to making your planning go more smoothly. To have a successful wedding, here are 5 things for you to know: 

  1. This is the biggest secret to wedding planning: there are no standards. Yep, I said it. I let the cat out of the bag. There will be a few hundred weddings in your city on the same day you get married and each one will be different. If you are a fan of flowers, you can spend half your budget there. If you love music, you can spend your money there. If you have always dreamed of a certain dress, you guessed it, you can splurge there. There is no secret to budgeting or planning a wedding. You have a certain amount of money to spend and you can divide it up any way you like.
  2. First, book the things and people that can only work one wedding at a time. That includes the venue, person performing the ceremony, musicians, hair stylist, make up artists, photographers, and possibly caterers.

    Makes sense right? If there are 500 weddings occurring in your city on the same day, you will want to make sure you get the vendors you like. Bakers, printers, and florists (and sometimes caterers) can do multiple weddings at a time so you can book them a little later.


  3. Spend your money on what is important to you and focus your energy on booking the best. To me, pictures were important because that was what I had left when the wedding was over. Also, my father had just had a heart attack and I wanted a lot of family pictures. My picture and video costs were 50% of my budget. I wore my mother's dress and held the reception at my house to save money in other areas so I could splurge on pictures. And I hired the best photographer and videographer I could find.
  4. If you are DIYing, DIY early and plan to do a test run. You can DIY most of your wedding if you plan in advance and enlist your creative friends and family. If you are going to DIY anything, do it early. I can't stress this enough. Also, do a test run. I did my niece's flowers and tested designs with her at her shower first so she could choose what she liked.

    Test runs are especially important if you have never seen the work of the person before or if you need to make sure something comes out before you do it for your wedding day. If you realize something doesn't work, be willing to change. Even if that means telling Aunt Marion she can't make the cake on your big day.
  5. Right before the wedding, people get weird. Friends may become jealous that you are getting married, siblings can become envious of the attention you are getting, and other people just start behaving oddly. This occurs at one of the most stressful times in your life. Try your best to not take it personally and remember their feelings are really not about you. Sometimes no matter how much others try to put you first and be happy for you, their inner turmoil bubbles to the surface. Don't let it ruin your big day.

Just remember these secrets as you plan your big day and you will have a happy wedding! 

To your happiness!
Laureen


Monday, January 13, 2014

DIY Weddings - Recommendations from Brides who have been there!

I firmly believe our weddings are some of the most amazing events we put on in our lives. Not only are they a great party, but they are truly a celebration of love. There just aren't many times in our lives when we invite people in to celebrate nothing but love. 

I also believe we can have amazing weddings, to celebrate love, without breaking the bank or going into debt for years. There are many paths to take to do this. Know what you can do yourself and know your limitations. A DIY Wedding can take on many forms.

Two of my nieces were married last year. Both weddings were incredibly beautiful and very different. One was at a gorgeous golf resort in Baltimore, MD, and the other was in an incredible redwood forest in Santa Cruz, CA. The golf resort wedding had a few DIY elements, and the redwood forest wedding was primarily DIY.  I asked them what they would do again, and what they wouldn't. Along with my own experiences, these are the top 5 thoughts on where to spend your money on your big day. 
  1. I opted to not make my own favors. I would recommend this for any DIY wedding with over 50 guests since it's a lot of work. I had researched buying bulk mason jars and fresh fruit but it was actually pretty expensive. I just found a seller on Etsy who did her own homemade jams with custom labels for less than what I would have paid doing it on my own. Sometimes it is cheaper to not DIY!
  2. Hire a day-of coordinator or ask a friend in the industry (what I did). I just told her how I wanted the whole dining room set for the reception and she made it happen with the staff. She handled it all while I was getting ready for the day with hair, makeup, and photos. This requires the bride to set out the place setting beforehand and know how she wants the tables to look so you can clearly communicate your vision to the coordinator. 

  3. Dessert/cake: I had initially thought I would make a bunch of homemade pies for dessert. We instead found a great local bakery and ordered everything from them for less than $300. Totally worth it in my opinion since we were entertaining family for a week prior to the wedding and wouldn't have had time...not to mention I have 1 single oven. Review your schedule 1 week prior to the wedding and see where you want to spend your time. Do you want to relax and be pampered, or entertain out of town guests? Or do you want to spend the time in your kitchen baking pies and cakes. And then, where do you store them so they won't go bad?

  4. Flowers: I did the flowers for my niece's wedding and I would not do them as a bride. Even if I were going to get married again or renew my vows I would not create my own flower arrangements. While some brides think it seems to be no big deal, it takes a lot of time. For my niece's wedding I was up at 1 AM the day before the wedding to get to the flower market so I could choose the flowers we wanted (and I was shopping at the San Francisco Flower Mart--one of the largest floral wholesale markets in the US!). The Mart opens at 2 AM and when I had checked it on Wednesday at about 10AM the only thing left were greens and wilted flowers. The vendors with the good flowers don't show up on Tuesdays or Thursdays, requiring me to go Friday morning. I then spent all day making centerpieces, bouquets, boutonnieres, corsages, and arrangements for the buffet tables and ceremony aisle. It was a lot of fun for me to do because I love doing flowers, I wasn't in the wedding, and was not the bride. The flowers ended up costing $600 for materials.
  5. Making your own food is too chaotic. Even if you are a gourmet chef you will not want to be up at the crack of dawn on your wedding day to make food. Nor do you want to be up late the night before chopping vegetables. I have watched brides try to save money by creating their own vegetable plates or a portion of the meals. Unless you are ultra prepared (so that everything else for the wedding is done), don't try to prepare your own food for the reception. Vegetable platters are less than $20 at CostCo. 


    Remember that your sanity is important before your wedding. You want to be coherent and aware of how the beauty of your day is unfolding. Don't overwhelm yourself. There are plenty of ways to DIY your wedding without taking on too much.

    Enjoy!
    Laureen


Saturday, December 28, 2013

DIY Healthy Beauty Products! All homemade!

This Christmas, my family and I agreed to make things for each other. I went through old recipes, thinking Pumpkin bread, flavored vodkas, or spice combinations. Last year I made fresh bread with  blueberry, red wine compote, and jalapeno jelly honey butter. They were yummy! 

I wanted to do something new this year. Something I hadn't tried before. I figured worst case scenario, I could fall back on flavored vodkas and olive oils. 

So I decided on skin products and lip balm. I use organic ingredients so they are high quality products. I made a lip balm, antibacterial hand cream, and soothing skin salve. 

 The lip balm was included shea butter, sunflower oil, cocoa butter, peppermint extract, raw honey, and a little bees wax. The raw honey doesn't mix well with the oils so I might omit it next time. If you want to include the honey, add just a little. I have to admit that it does make the lip balm taste really good. And this stuff stays on your lips for hours! That is, if you don't lick off the honey. Click here for the recipe.


The natural antibacterial moisturizing lotion was a bit of a cheat in that it started with lotion. I added in vitamin E, coconut oil, eucalyptus essential oil--which is the natural antibacterial, and almond oil. This one needs a mixer so you can whip it together. At first I didn't whip it and the coconut oil didn't mix well with the lotion. 

I scooped the product back out of the containers and whipped the ingredients and it came out looking like it does in the picture...fabulous!

The final healing salve is made of olive oil, coconut oil, vitamin E oil, bees wax, lemon essential oil, orange essential oil, tea tree oil, and a little lavender essential oil.

This one is my favorite. It is fabulous for dry skin. It stays on the skin and is absorbed slowly so don't touch anything for a while until it soaks in. But it also works better than pure shea butter to soften and soothe skin. 

You can find many recipes for these items on Pinterest but I will post my recipes here soon. I plan to continue to work on them to pack in as many healthy and healing ingredients as possible into future versions. 

To a Healthy, Happy New Year! 
Laureen


On Sale Now at The Knot Wedding Shop

Saturday, November 16, 2013

Feathered Thanksgiving Wreath - SUPER EASY!

This year with Thanksgiving being so late I wanted to create decorations that I can easily change out to Christmas decorations.

The wreath I made for Halloween was so easy that I decided to make something similar.

Feather wreaths are so darn easy to make. And they last amazingly well in weather. Mine is lasting through wind storms, rain, and sun. My front door is a bit protected by a porch but I am amazed at how well it holds together.


You need 4 items:
  • Styrofoam wreath form
  • White Feather Boas (I bought 3)
  • Upholstery pins 
  • Wired ribbon of your choice
I purchased the wreath forms and feather boas at Save On Crafts. If you have never been to this website, you are in for a treat. This site is packed with everything you need to create any craft, and the prices are fantastic.

Start by pinning an end of the wreath into the styrofoam form. Wrap the boa around the form until you run out of boa. 

Overlap the end of the second boa with the end of the first boa on the form and pin it. 

Wrap the second boa and repeat the process with the third boa until the wreath form is covered. Pin the final end. 

I find it easiest to tie a bow if the ribbon is first tied around the wreath. I tied  the ribbon  around the top of the wreath, then tied a bow. I chose a copper colored ribbon for Thanksgiving. I plan to change it out and add Christmas balls to it after Thanksgiving is over. 

But for now, I have my Thanksgiving wreath that makes me smile each time I approach my front door.

Celebrate Thanksgiving with easy decorations that make an impact.

Happy Thanksgiving! 
Laureen

Saturday, October 26, 2013

Living Succulent Wreath

Succulents are hot items these days. I love the succulent arrangements and wreaths in the stores but they can be so darn expensive! 

I decided to jump into the deep end and try to make a wreath myself. The succulent clippings that you use in the wreath take 6-8 weeks to root so if you want to give one for a holiday gift, now is the time to plant it.

The cost of these, even when you make them, is not cheap. I suppose you can make it less expensive if you are growing your own succulents but I don't have enough varieties right now. I am going to take some of the clippings from the succulents I purchased and plant them. So maybe next year I will have enough to make a wreath from my own clippings. 
 
The items you need to make your wreath are:
  • Wreath form. You can make your own, but I purchased mine and they are fantastic!
  • Succulent clippings. Get a good variety. I bought mine off of eBay.
  • Living Wreath Pins. These help you hold some of the pesky clippings into the wreath form.


Start by soaking your wreath form. Make sure it is good and wet all the way through. I used the bathtub and let it soak in the water. I  purchased my wreath form from Topiary Art Works. This wreath base is fantastic. It comes with "feet" that will keep the finished wreath away from the wall so it hangs straight, and a chain from which to hang the finished wreath. Since this wreath form will we filled with plants, it will be heavy. You can make this yourself but I highly recommend purchasing your form from Topiary Art Works instead. 

Let the wreath form soak for at least a few hours. Let the excess water drain before you pull it out to work on it. The excess water will drain away but the wreath form will be saturated. I put the soaked wreath form into a box lined with a trash bag to move it outside to my work area.


Next you need to take your clippings and sort through them. Mine sat in the box a little too long (okay, a LOT too long) before I used them so some were a little wilted but they were still fine to put in the wreath. Succulents are forgiving that way. I purchased 150 succulent clippings from SharkoftheGRC on eBay. They have various amounts of clippings you could buy. I am able to make2 wreaths from these clipping and plant some of them. You can also create more succulents from the leaves that you break off and I will show more about that in a future post. 

Start with a focal piece. I chose a large flower shaped succulent and put it in the lower left side of the form. Just poke a hole in the wreath form and shove the stem in. If you have let your clippings wilt like I did, you need to be careful because the stems and leaves are weak and bend. I ended up using my finger to make the holes because I found it easier to get around the metal pieces in the wreath form than when I used a tool. 

Next I used a different type of succulent to add interest next to the focal point. I used one with longer thinner leaves so there was a contract in texture.

If you pick up a piece and the stem isn't long enough to insert, break off a few leaves until you have the stem length you need.KEEP THESE LEAVES! You can grow new succulent plants using them. 


Work your way around the wreath form, poking holes and inserting succulent stems. Vary the type and color so you end up with an interesting piece. 

If you run into a stubborn succulent that won't stay in the wreath, use one of the Living Wreath Pins, which you can also get from Topiary Art Works. Just take the pin and add the pin on top of the stem to hold it in place. 

Hold the succulent where you want it to stay and push the pin into the form over the stem. Don't squish the stem, just attach it firmly to the base. The pins slide into the base easily and are very easy to use. 


Save some long succulent pieces to use as filler at the end. In the picture at right you can see longer brown stems with little green leaves that I used as filler. 


The colorful succulents make a nice change from all the greenery. Place different succulents, grouping them with 3 or 5 of the same ones, then change to a different succulent. 

Look at various wreaths online to see what you like and gain inspiration from your favorites. 

When it is complete move the wreath back to the lined box. I left mine outside in partial sun. I use a watering can to water the wreath every week. As the succulents take hold and start to grow I will add in additional clippings if I see spots of the wreath form that aren't being covered. 

Comment below if you have questions or need information. I am happy to help! Remember, plant now if you want to give as a gift. 

Enjoy!
Laureen


Thursday, October 10, 2013

Fall Table Scapes, covering every celebration!

Happy Autumn! I am celebrating the fall by starting a new project: videos! 

I worked with Wholesale Flowers and Supplies to create a video that shows you an easy way to take your fall decorations from Halloween through Thanksgiving. You can get all you need at Wholesale Flowers and Supplies.

I will be creating more videos in the future showing you tips and tricks to decorate your home, entertain, even throw a wedding. Everything is DIY and you can do it too! 


I hope you enjoy!
Laureen

Thursday, October 3, 2013

Halloween DIY - Making your own fake blood

I love the fall and Halloween marks the beginning of the holidays for me. I like the scary version of Halloween rather than the cute. This year I knew I wanted to make a centerpiece where the flowers bleed. I also wanted them floating in fake blood. If you read my previous post you know I made my Halloween dreams come true and used a lot of fake blood in my design. 
Buying that much fake blood can be costly and I like to spend as little as possible. Making fake blood is really super simple. It takes only 3 ingredients and very little time. You will want to use a bowl for mixing that either doesn't stain or that you don't mind getting stained.
 

Fake Blood

  • Corn Syrup
  • Hershey's Chocolate Syrup
  • Red food coloring 
Start with about 2/3 of the bottle of corn syrup in a bowl or container. Do not use all the corn syrup. Mix in 5 tablespoons of chocolate syrup and add about a teaspoon of red food coloring.

Mix and test the color. If it's not red enough, add more red food coloring. If it's too cherry red, add another tablespoon of chocolate syrup. If, in playing with the recipe you need to dilute the color, add more corn syrup. 

I didn't follow a recipe when I made mine; I winged it and discovered a few things you don't want to do. 
  • Don't use blue food coloring. I tried to use it to make the color a deeper red and it turned brown. It took me quite a bit of adjustments to make the color right.
  • Add a tablespoon of chocolate syrup at a time after the initial batch. Adding more can make the color off. 
  • Be sure not to use all the corn syrup at the start. When I added blue and too much chocolate syrup having some left was my only way to save the batch.  

This blood is great for dripping, using as wound blood and making Halloween decor. It worked great to make the centerpiece in my tablescape bleed onto to the flowers in the bowls below. To see the finished design, you can click here.


Halloween can be fun and inexpensive if you use things around the house to make the items you need. In one of my next posts I will show you how to use eye shadow to create zombie makeup, devil makeup, and fake bruising. 

Happy Autumn!
Laureen 


Sunday, September 15, 2013

Invitations with life - seed embedded paper and DIY invitations


I love sending invitations. I like printed invitations because they are so fun to receive and are a physical reminder of the upcoming event. Invitations are the first time guests are getting an idea of the type of party you are throwing. They symbolize the look and feel of the event. The best part is, it is easy to DIY your own invitations.


There are so many ways to make your invitations represent your party by using fonts, pictures, designs and even the paper.

Recently I sent invitations and used a seed-embedded paper that the guests could plant. I included a matching envelope that was seeded too. The seeds were small and didn't impact the printing at all. 

I found the paper online by doing a search and immediately loved it. 

I created the design of the invitation in MS Word. Search templates for Invitation and all sorts of fun ones come up. I always play with a few designs before I find the one I want. I ended up using a plain one so the beauty of the paper stood out. 

Use standard printer paper to layout and test print your invitations. This allows you to make sure the design is working before you use the more expensive paper.  When all looks good, add the invitation paper to the printer and print away. 

If your paper is thicker than standard paper be sure to adjust the feeder on your printer before you print. If pages are sticking and not printing straight, this could be the cause. 

Always plan to print a few that won't be sent. There are always a few pages that give me trouble, especially when use specialty papers. 

Since I printed 2 invitations per sheet of paper, I cut them with a paper cutter. This is the easiest method to cut sheets in half, but you can always fold and cut them with scissors or a razor blade. 

I included a slip that described the invitation paper and how to plant it so that guests would know this invitation could live on. I added a little flower design to make it special and match the invitation. 

I printed the instructions on standard paper and printed 4 per page. Again, I used the paper cutter to cut them apart.

The envelopes matched the paper and to seal them, I used a pressed flower sticker that I found on the internet. It's the little details that really make a big difference. People may not notice each one, but the feeling is there and each detail sets a tone.

When I held the party, guests commented on the invitations and how much they enjoyed them. From the invitations they could tell it would be a special day, with natural details and a slight rustic charm. 

The best part? Guest actually planted the invitations. I can't wait to see pictures of the herbs and flowers as they grow.  


Make your parties special by sending invitations. They don't need to be expensive and can set the tone for the whole event. If you take your time and make them special your guests will anticipate the event even more. 

Comment below if you have any questions about how to create your own invitations. 

Laureen