Sunday, July 28, 2013

DIY Celebrations and Weddings - Homemade Butter Mints

A few months ago, I threw a shower for my niece who was getting married. You can see the buffet at left. It was 100% DIY and I did it all myself. 

My niece is very special to me. I was able to hold her when she was just 5 hours old. I have watched her grow up into a wonderful young lady. She has style and panache that is all her own.  

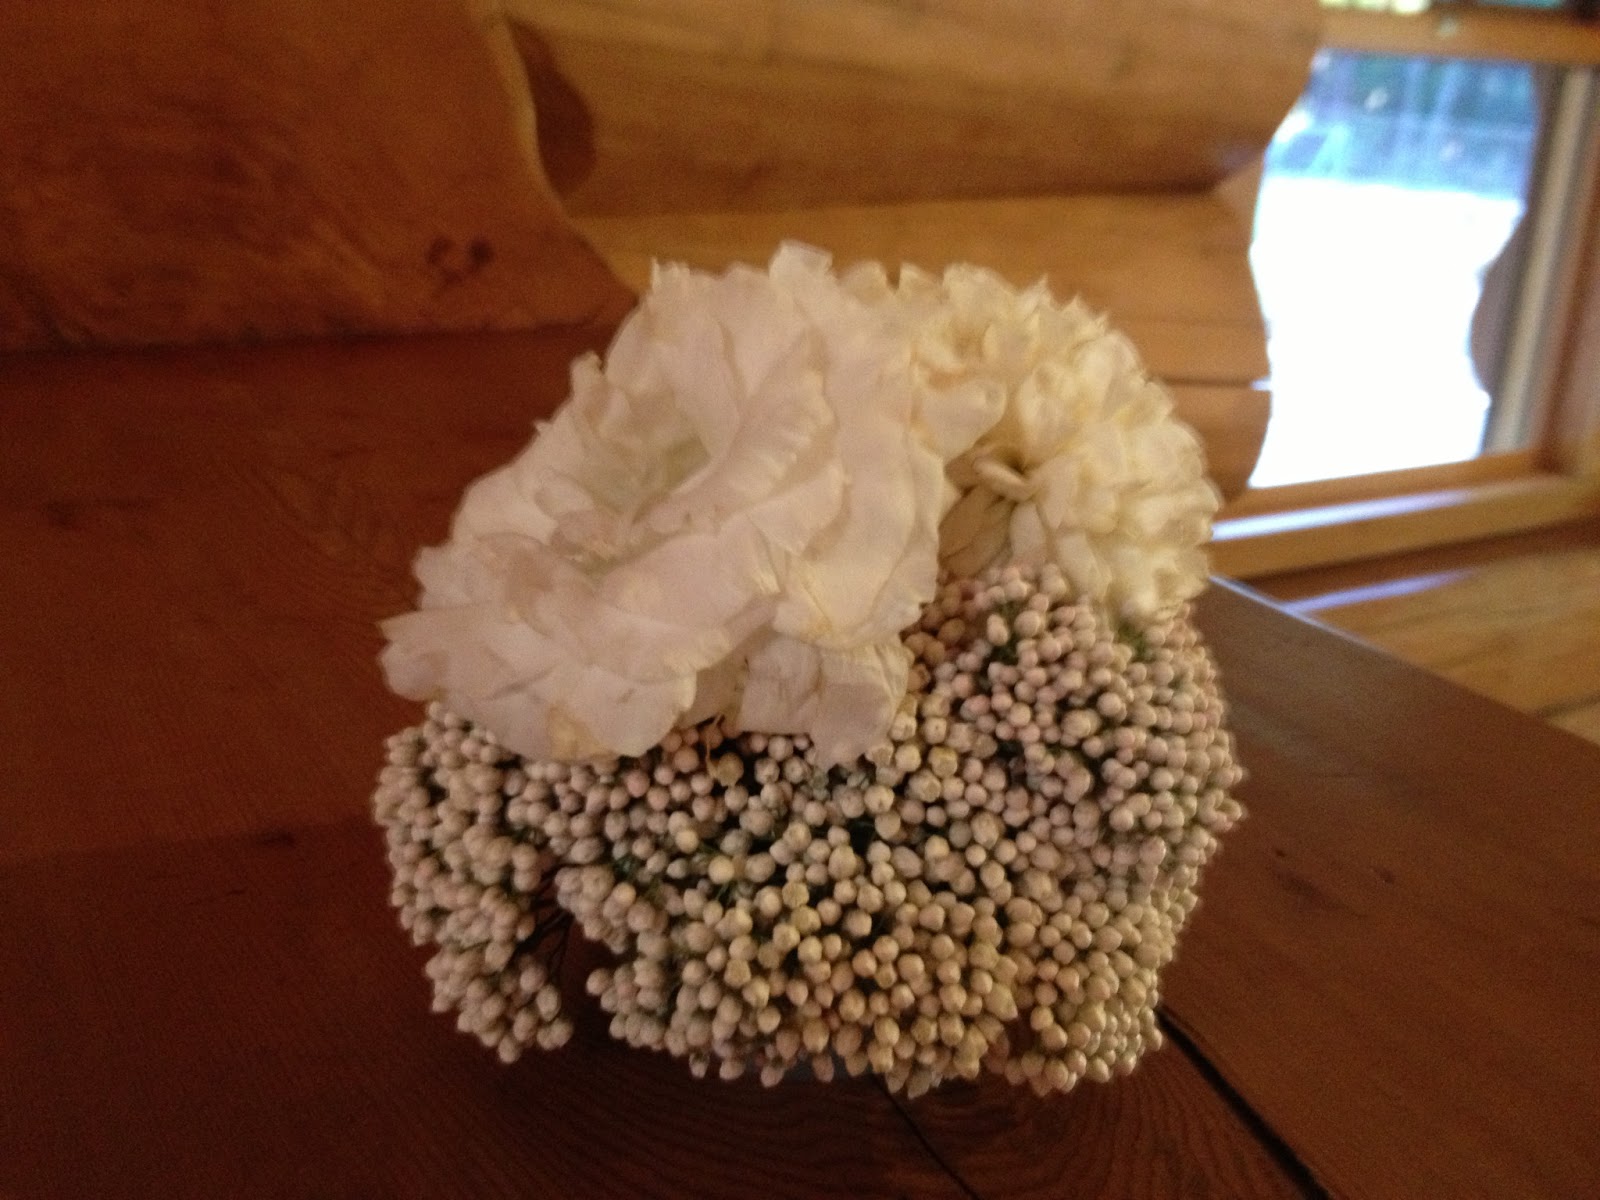
I used the style of her wedding as a theme for the shower and included the burlap table cloths, shabby chic cake plates, and light peaches and corals in the flowers.

I served heavy appetizers at the shower since it started at 1:30 PM. Since I was only serving appetizers, I made sure there were 12 pieces per person available, although that ended up being way more than enough food. We also had multiple desserts, and I used the cakes as decorations during the appetizer portion of the shower.

For dessert we had a 2-tiered frosted cake, a lemon poppy seed Bundt cake, strawberry cheesecake parfaits, and homemade butter mints.

Today I will give you the oh-so-simple recipe for my butter mints.  Later this week, I will give my recipe for the strawberry parfaits.The butter mints are the easiest recipe I have ever made as they consist of 3 ingredients: cream cheese, powdered sugar, and peppermint extract. I cut mine into little hearts for the bridal shower.

Laureen's Butter Mints

2 8 oz Packages of Cream Cheese
4 Cups Powdered Sugar
1 teaspoon Peppermint Extract

Let cream cheese come to room temperature. In a stand mixer or food processor combine cream cheese, 3 cups powdered sugar and peppermint extract. Mix until well blended. Add remaining cup of powdered sugar slowly until dough forms into a ball. You may not need all of the powdered sugar or you may need a bit more depending on the humidity in the air. 

Let dough rest in refrigerator for an hour. 

When chilled, roll dough into a ball with hands then press to flatten (you can use a rolling pin if you like but it was easy to just press it out). I pressed mine out until it was about 1/3" thick. I used a very small cookie cutter to cut the mints. I worked with small amounts of the dough and kept the rest refrigerated. It is much easier to cut them out if the dough is cold. 

You can also just form the dough into small balls, disks or any shape you desire. 

Store them in an air tight container in the refrigerator. They can keep for over a week so make them ahead! 

Hope this helps you DIYers with weddings and celebrations. Let me know what you think!

Laureen 


Saturday, July 6, 2013

DIY Weddings ... 5 Tips to Keep You Sane

After perusing many DIY and cheap wedding sites, I have become concerned for the DIY brides. Many of the recommendations made for how to do your own wedding will lead to bridal distress mere hours before your big day.

I have been putting on parties and entertaining for years and can tell you that some of their DIY would send me, a veteran party planner, into a tail spin. 

This will probably be the most expensive event you ever host, don't ruin it by being so stressed and frustrated that you wish you weren't even there. 

I have compiled the following tips to help you bypass wedding day stress:
  1. Please don't overload yourself with tasks the week before your wedding. Unless you enjoy creating floral arrangements and it relaxes you, don't plan to create 15 centerpieces, 5 bouquets, boutonnieres, corsages, buffet and dessert table arrangements, etc. Some of the most recommended flowers on other DIY sites have stems that easily bend or break, they wilt in the heat, and will not lead you to an easy afternoon of floral fun.
  2. From epicpinterestfail.com
  3. For anything you are doing yourself, practice once or twice prior to the wedding week to make sure you know exactly how much time it will take you. If friends have offered to do something for you (make the cake, create your flowers, etc.) have them create a sample months in advance so you can be sure it is something you like.

  4. If you are creating your own decorations such as poms, streamers, chalkboards, etc. create them months ahead. For example, You can fold the pom tissue paper months in advance, wrap the wire around the center, and leave them unpuffed in a small stack.
    Unpuffed Poms

    The week before the wedding, have friends help puff them. Each puff can take 5-10 minutes to get the look right so give yourself plenty of time. (25 poms x 5 minutes each to puff = 2 hours 5 minutes).


  5. If you are planning your wedding during extreme weather conditions, either heat or cold, make sure you understand how the temperature impacts frosting, flowers, venue, etc.
    No tinted vases in this centerpiece!
  6. If you see a craft on Pinterest or a website that you want to recreate, test it out now. I wanted to tint vases for my niece's shower and wedding and found that was not as easy as the sites and pins make it seem. They all came out very light, and when I went to redo them, there were streaks. Not the look I was going for. We tested out samples of styles for centerpieces at her shower and she chose what she liked best, which did not include tinted vases.


Especially if this is your first wedding, give yourself a break. You can still have the wedding you want on a budget without causing yourself so much stress that you have a meltdown. Quite frankly, it's just not worth it. 

Planning is key. Figuring out what is most important to you and focusing on those items, and testing everything in advance is key. For DIY Weddings, I recommend giving yourself 9-12 months to plan and put together all you want. This gives you plenty of time to test out crafts, Pinterest ideas, buy the decorations you want, and have everything under control so you can breeze through your wedding day. 

Enjoy your wedding, from planning to party!
Laureen

Thursday, July 4, 2013

DIY Weddings and other parties....where do I begin?

Wedding in the Woods
Many of us like to do things ourselves, plan our own events and carry out our designs without the use of a planner or organizer. If you want to join the Do it Yourselfers, you CAN do it! You just need the steps along the way. 

It's easy enough for me to say you need to start at the beginning. But where does the beginning start? 

Be sure to lay the foundation of your event. I give instructions on how to do this in a previous post: Event Planning: Laying the Foundation. The first 5 questions to answer are: 
  • What is the purpose of the event?
  • What do I want the tone or mood of the event to be?
  • What is important to me?
  • What do I want for my guests?
  • How do I want to participate in the event? 
Really think about these questions and determine your ultimate answer. Is your purpose to be married or is it to impress family and friends? Be honest with yourself. If you really want to impress others you need to know that is your ultimate goal. (There is no right or wrong answer, it's your party and what you want is up to you.)

I give plenty of instruction regarding each question in the previous post so be sure to read it if you are struggling with any of the answers.

The next step is to create a vision for your party. Keeping your foundation answers in mind, determine options that can meet the goals you have set. For example, let's say I responded to the 5 foundation questions in the following manner:  
Beach Wedding
  • What is the purpose of the event? To marry my fiance.
  • What do I want the tone or mood of the event to be? Fun, with a focus on family, and a touch of elegance.
  • What is important to me? That our family and friends help us celebrate our love in a beautiful and fun outdoor setting. At the end of the day, that we are married.
  • What do I want for my guests? Most will be from out of town. I want them to be comfortable, have plenty to eat and drink, enjoy their surroundings, dance, laugh, and love with us, without them having to spend a lot.
  • How do I want to participate in the event? I want to fully participate and not have to worry about anything that day.
Do you know exactly what kind of wedding you want? If you don't, now is the time to really think about you and your fiance' and determine what works for you. 

So keeping these answers in mind, my vision could be: 
To get married in an outdoor setting that is easy to get to, has the amenities I need, and is beautiful. I will need someone to coordinate the day, know the vendors, and who will understand exactly what I want. We will have between 75 and 100 guests, who will need reasonable accommodations, transportation, and the ability to get around in unfamiliar territory. We will have plenty of food, drink (alcoholic and non), and will make a long weekend of the event. 


Garden Wedding
Using this method, can you see how your plan is developing? Your venue will be outdoors, easy to get to, and provide part of your decor. Your dress can be long or short but not too formal. You will need a coordinator that you know and who knows you for the day of and probably a few days before so they can get to know the vendors. You need to find a place for many out of town guests to stay, and determine how you can have a long weekend wedding. 

Your plan and vision for your big day is coming together! Next we will talk about budget and "dream" items (things you may splurge on). 

Comment below if this is helping you to plan your big day! I am happy to answer questions as well. 

Happy Planning! 
Laureen 


Tuesday, July 2, 2013

DIY Wedding in Bloom

This past weekend I had the honor of creating the flower arrangements at my niece's wedding. I had such a good time. The wedding was held in the mountains of Boulder Creek, CA amongst the redwood trees. It was one of the most gorgeous venues I have ever seen. 

The only issue was the the weather decided to hit record highs-- approximately 104 F. So keeping the flowers fresh through the wedding was very important. 

In this post I will show you samples of the flowers. In a future post, I will talk about how I choose flowers, put them together, and make sure they last.


Raw materials.


This is how the flowers come from the flower mart. Bunches tied together with rubber bands, twist ties, string, and wrapped in plastic or newspaper. 

A must during the heat is to have 5-gallon buckets with a little water in the bottom to keep the flowers from dying before you even get them home.


Bridesmaid's bouquet

Boutonniere

Used at the end of the benches and around the reception


The bride requested more rustic bouquets so this is what I designed for the bridesmaids. They were hand tied and kept in about an inch of water when the wedding party wasn't carrying them. We also used them on the head table as decorations so they were in water the entire reception.


The groom is from New Zealand so I did my best to find a fern that represented the one on the flag. I added a pod and the pink fern to match the bridesmaids' bouquets. 

The groom's boutonniere should include a flower from the bride's bouquet. 


These little puff arrangements were used at the end of the benches during the ceremony, and then were brought to the cocktail and reception area to add a bit to a corner of a table and on shelves and guest gift tables.


The centerpieces were round, rustic arrangements on antique brass candlesticks. They also included small woodland animals that matched the brass candlesticks, candles, and two satellite vases with individual flowers in them. A burlap runner and fresh white tablecloth finished the look.

There are some tips I see in the videos from the florists that, quite frankly, don't work for me. I will give you alternate ways of putting flowers together so it is easier for someone who doesn't do this every day. 


Let me know your thoughts on the designs in the comments below. And if you have questions about anything I did, please ask!